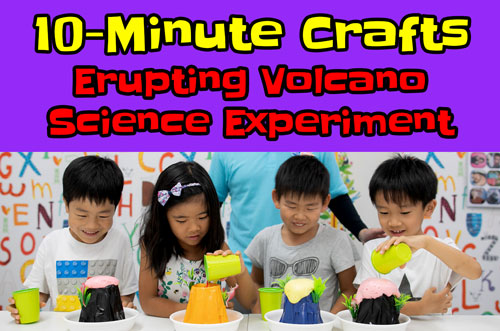
Make a Quick and Easy Volcano Experiment with Tape in 10 minutes for a super fun and exciting science experiment.
At Step by Step Eikaiwa, our English school in Japan, we love mixing fun crafts and activities into our English lessons. There are just a few requirements we have when deciding which crafts to do: they must be fun for all ages, cheap and easy to prepare, and most importantly, able to be completed by the end of the 45 or 50-minute lesson. You might have seen our previous erupting volcano science experiment in our Fast and Easy 10-minute ESL crafts blog, but today’s version is even better because it’s a Quick and Easy Volcano Experiment with Tape!
We got the idea to use tape instead of clay or other materials from this cool blog about making an easy-tape volcano over at Inspirational Laboratories. It’s super cool, but needed something a little smaller, cleaner, faster, and easier. That’s why we decided to use colored duct tape. Plus, we decided to put the volcano in a tray to catch the overflowing “magma.”
Page Contents
- 1 Make a Quick and Easy Volcano Experiment with Tape in 10 minutes for a super fun and exciting science experiment.
- 2 What You’ll Need To Make a Quick and Easy Volcano Experiment with Tape
- 3 How to make the Quick and Easy Volcano Experiment with Tape
- 3.1 Step 1 – Give out the supplies
- 3.2 Step 2 – Cut the grass for the volcano (optional)
- 3.3 Step 3 – Attach the grass (optional)
- 3.4 Step 4 – Make the volcano with tape and a cup
- 3.5 Step 5 – Fill in the gaps
- 3.6 Step 6 – Color your tape volcano (optional)
- 3.7 Step 7 – Add plants
- 3.8 Step 8 – Add dinosaurs to the volcano
- 4 Time for the eruption of the quick and easy volcano experiment with tape
- 5 The quick and easy volcano experiment with tape is fun and educational
- 6 Need more great ideas for fun and easy classroom crafts?
- 7 Greetings Clock (Good morning, afternoon, evening, night) – Free Craft Template
- 8 5 Battle Eggs EFL/ESL Card Game Variations
- 9 5 Free Custom Photo Snow Globe Templates
- 10 7 Free Interactive Christmas Games for Online Lessons
- 11 Free Christmas Present Shooting Game (10-Minute Craft)
- 12 Free Ghost Blaster Shooting Game (10-Minute Halloween Craft)
- 13 World’s Easiest Chocolate Mug Cup Cakes (microwave recipe)
- 14 Pen Pan Flutes – Musical Instrument Kids Crafts
- 15 ESL/EFL Origami Craft – Paku Paku Fortune Tellers
- 16 Easy 3D Reindeer Christmas Card Craft – (Free Instructions)
- 17 Light-up Ghosts | Super Easy Halloween Kids Crafts
- 18 Quick and Easy Volcano Experiment with Tape (10-Minute Classroom Crafts)
- 19 How to play “Spell Chomp Spell” Game with ABC Chompers
- 20 Super Easy Marshmallow Cereal Shape Snacks Recipe & Lesson Plan
- 21 No-Mess, No-Carve Jack-O’-Lantern Halloween Craft
- 22 DIY Light Ghost Halloween Decorations
- 23 Colors, Shapes, and Animals – Super Cute Crafts for Kids
- 24 DIY Paper Craft Animal Hats (Bunny, Frog, Monkey, Dinosaur)
- 25 10-Minute ESL Crafts: English Reading Word Spinners for Phonics Practice
- 26 “Slime In A Bag” | Super Easy, No-Mess Instructions – 10 Minute ESL Crafts for English Class
- 27 Erupting Volcano! – 10 Minute ESL Class Crafts
- 28 Top 5 Awesome ESL Activities With Less Than 1 Minute Preparation
- 29 ESL Cookie Recipe and Worksheet
- 30 DIY Craft Kalimba – Homemade Instruments for Kids
- 30.1 Any of the activities above combined with BINGOBONGO Sticktionaries create super fun lessons that students will never forget!
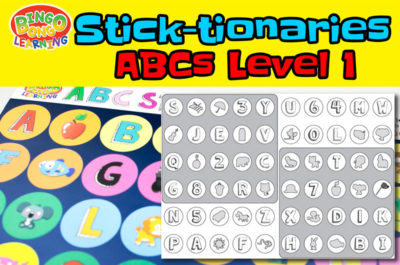
- 30.2 Sticktionaries | Free download | ABCs Level 1 (FUN!book 1)
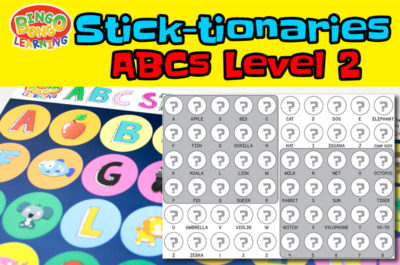
- 30.3 Sticktionaries | Free download | ABCs Level 2 (FUN!book 1)
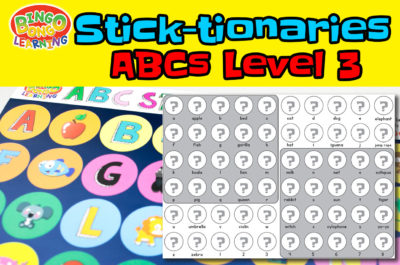
- 30.4 Sticktionaries | Free download | ABCs Level 3 (FUN!book 1)
- 30.5 Sticktionaries | Free download | ABCs Level 4 (FUN!book 1)
- 30.6 Sticktionaries | Free download | Adjectives 3 Level 1 (FUN!book 4)
- 30.7 Sticktionaries | Free download | Adjectives 3 Level 2 (FUN!book 4)
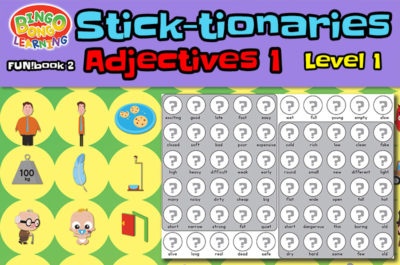
- 30.8 Sticktionaries | Free download | Adjectives-1 Level 1 (FUN!book 2)
- 30.9 Sticktionaries | Free download | Adjectives-1 Level 2 (FUN!book 2)
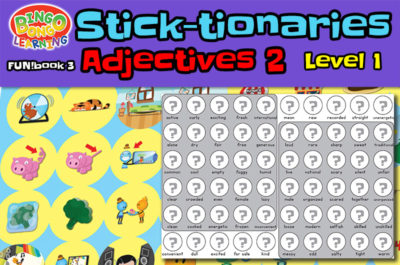
- 30.10 Sticktionaries | Free download | Adjectives-2 Level 1 (FUN!book 3)
- 30.11 Sticktionaries | Free download | Adjectives-2 Level 2 (FUN!book 3)
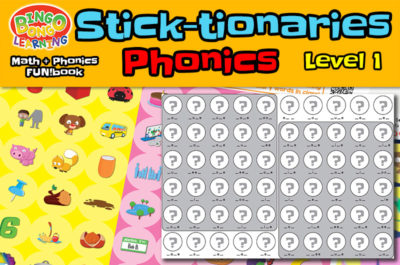
- 30.12 Sticktionaries | Free download | Phonics-1 Level 1
- 30.13 Sticktionaries | Free download | Phonics-1 Level 2
- 30.14 Level 1 EFL/ESL Curriculum Download Pack (Over 700 files included, major time saver!)
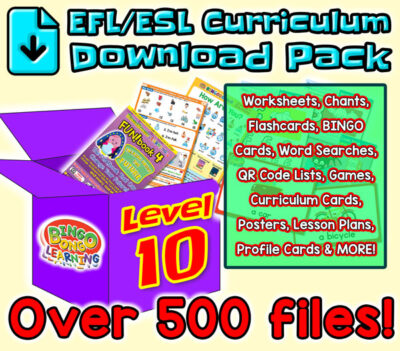
- 30.15 Level 10 EFL/ESL Curriculum Download Pack (Over 500 files included, major time saver!)
- 30.16 Level 2 EFL/ESL Curriculum Download Pack (Over 700 files included, major time saver!)
- 30.17 Level 3 EFL/ESL Curriculum Download Pack (Over 700 files included, major time saver!)


What You’ll Need To Make a Quick and Easy Volcano Experiment with Tape
You will need the following things to make a Quick and Easy Volcano Experiment with Tape
How to make the Quick and Easy Volcano Experiment with Tape
Once you’ve prepared the materials, kids can easily create their own custom erupting volcanoes using any color that they like! The best part is that they can use them again and again!
Step 1 – Give out the supplies
Each student asks for their supplies to make the quick and easy volcano experiment with tape. If necessary, pre-teach them the phrases they need to know such as “Can I have the [color] tape, please?”

Step 2 – Cut the grass for the volcano (optional)
Make an outline of the bottom of the medium tray on the felt and cut out the circle as the “grass.” (You can omit this step to save time and make clean-up a little easier.)

Step 3 – Attach the grass (optional)
Apply the double-sided tape on the felt and stick it to the medium tray. The roller-style double sided tape doesn’t dispense on the plastic tray easily, so apply tape directly to the felt.

Step 4 – Make the volcano with tape and a cup
Now it’s time to make the shape of the volcano! Place a plastic cup on the small tray. Apply long strips of tape in a plus shape going from the lip of the cup to the base as pictured.


Step 5 – Fill in the gaps
Use smaller pieces of tape to fill in any gaps left over on the volcano

Step 6 – Color your tape volcano (optional)
Add details to the volcano using your oil-based permanent markers. Now would be a great time to write initials underneath! (You can omit this step for large classes to save time.)

Step 7 – Add plants
Now it’s time to get even more creative! Using small strips of tape, attach the fake plants around the volcano any way you want!


Step 8 – Add dinosaurs to the volcano
And of course, complete the theme with a few little dinosaurs!

Time for the eruption of the quick and easy volcano experiment with tape
Step 1 – Put in the baking soda
Measure out 30g of baking soda and put it inside your volcano. Break up any clumps to make the reaction more explosive. If you want, you can add a little liquid red food dye to the vinegar and mix it up to give the “magma” a more realistic color.

Step 2 – Put in the vinegar
Now measure out 30ml of vinegar. Add about 3g of dish soap to make the eventual foam extra thick and frothy!

Step 3 – Watch the quick and easy volcano erupt!
Now, quickly pour the liquid into the volcano – the reaction should take place instantly! Be sure to have your camera ready to capture the expressions on the children’s faces.

The quick and easy volcano experiment with tape is fun and educational

This quick and easy volcano experiment with tape has been a huge hit, and kids enjoy not only making their own custom volcanoes, but using English in the classroom as they learn about various things. Content and Language Integrated Learning (CLIL) is a growing movement within both EFL and education in general, where language teaching is integrated with the teaching of other subjects to teach a language as a means of communication. This experiment is a great way to teach kids about both chemistry and earth sciences, use creative skills, and practice English in a new context!
Need more great ideas for fun and easy classroom crafts?
Check out all these cool activities and crafts that are not only quick and easy to make, but also super fun for students.
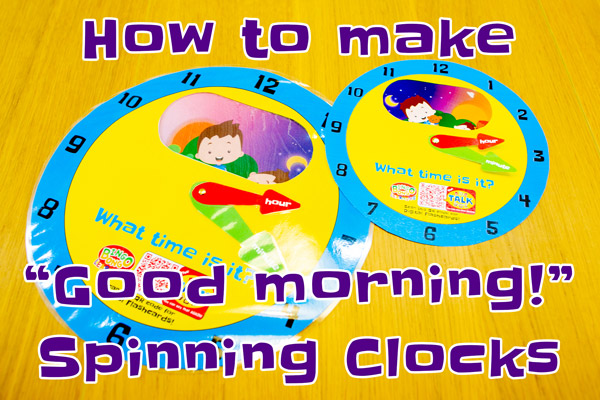
Greetings Clock (Good morning, afternoon, evening, night) – Free Craft Template
Use this cute and fun "Good Morning!" Spinning Clock ...

5 Battle Eggs EFL/ESL Card Game Variations
Try these 5 Battle Eggs EFL/ESL Card Game variations ...

5 Free Custom Photo Snow Globe Templates
Make an original snow globe with these 5 Free ...

7 Free Interactive Christmas Games for Online Lessons
7 Free Interactive Christmas Games and Activities for Teaching ...
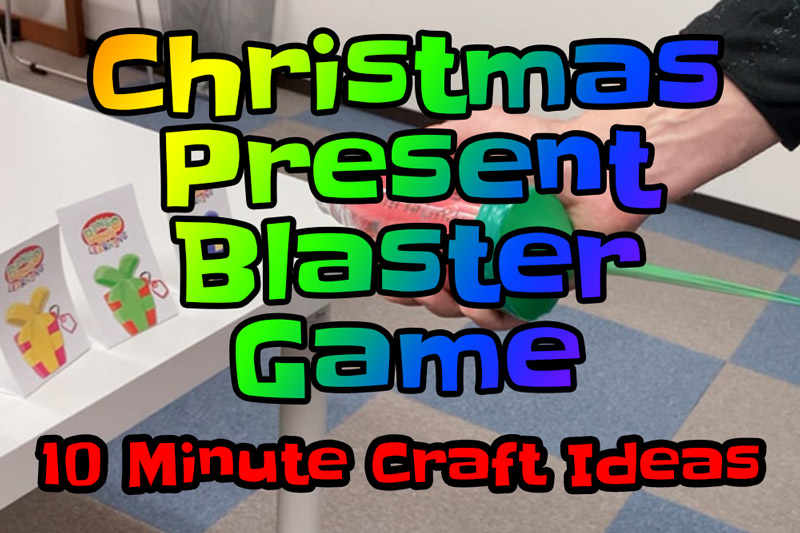
Free Christmas Present Shooting Game (10-Minute Craft)
Make a Plastic PET Bottle Present Blaster in less ...
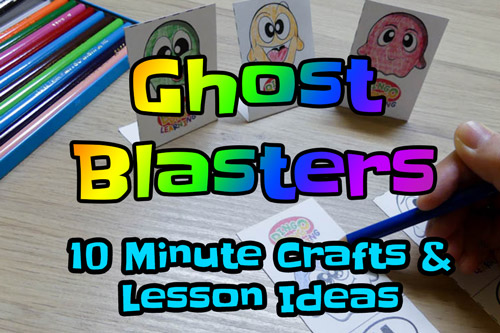
Free Ghost Blaster Shooting Game (10-Minute Halloween Craft)
Are you ready to make a plastic PET Bottle ...

World’s Easiest Chocolate Mug Cup Cakes (microwave recipe)
The World's Easiest Chocolate Mug Cup Cakes will turn ...
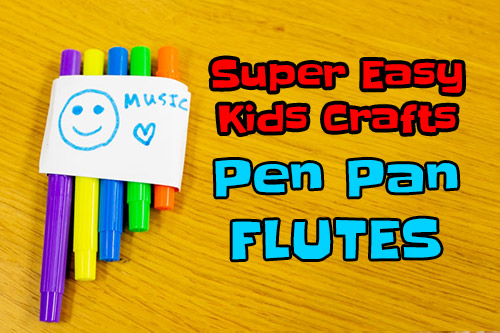
Pen Pan Flutes – Musical Instrument Kids Crafts
Make These Super Easy Pen ...

ESL/EFL Origami Craft – Paku Paku Fortune Tellers
ESL/EFL Origami Crafts are a ...
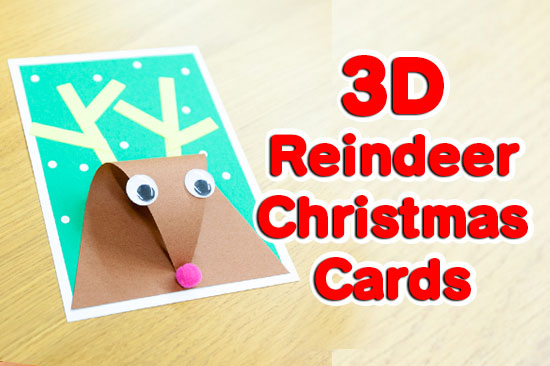
Easy 3D Reindeer Christmas Card Craft – (Free Instructions)
This cute and simple 3D Reindeer Christmas Card Craft ...
Light-up Ghosts | Super Easy Halloween Kids Crafts
These light-up ghosts make super ...
Quick and Easy Volcano Experiment with Tape (10-Minute Classroom Crafts)
Make a Quick and Easy ...

How to play “Spell Chomp Spell” Game with ABC Chompers
Learn how to play SPELL CHOMP SPELL! A ...
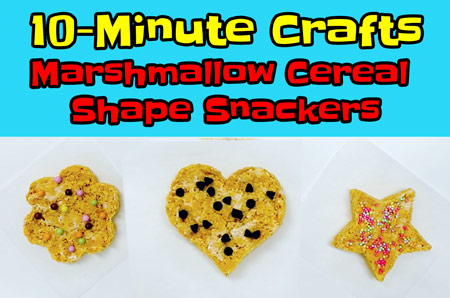
Super Easy Marshmallow Cereal Shape Snacks Recipe & Lesson Plan
Delicious Fun in Your Next English Class with Our ...
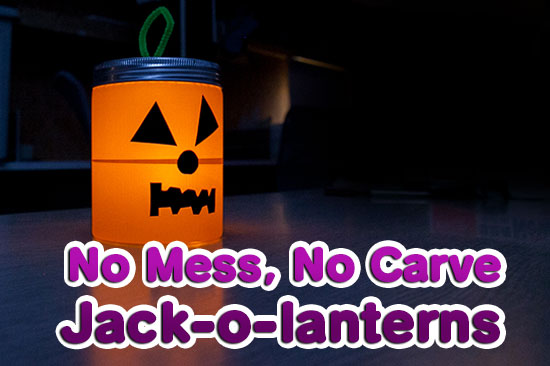
No-Mess, No-Carve Jack-O’-Lantern Halloween Craft
Are you looking for a fun, cheap and easy ...
DIY Light Ghost Halloween Decorations
Need some fun, easy, and cheap Halloween decorations for ...
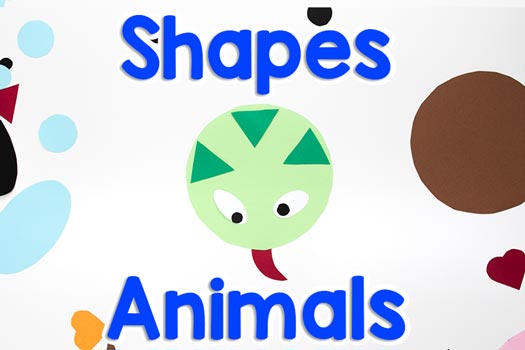
Colors, Shapes, and Animals – Super Cute Crafts for Kids
Practice shapes, colors, and animals with these super-cute ESL/EFL ...

DIY Paper Craft Animal Hats (Bunny, Frog, Monkey, Dinosaur)
Make these cute and fun DIY paper craft animal ...
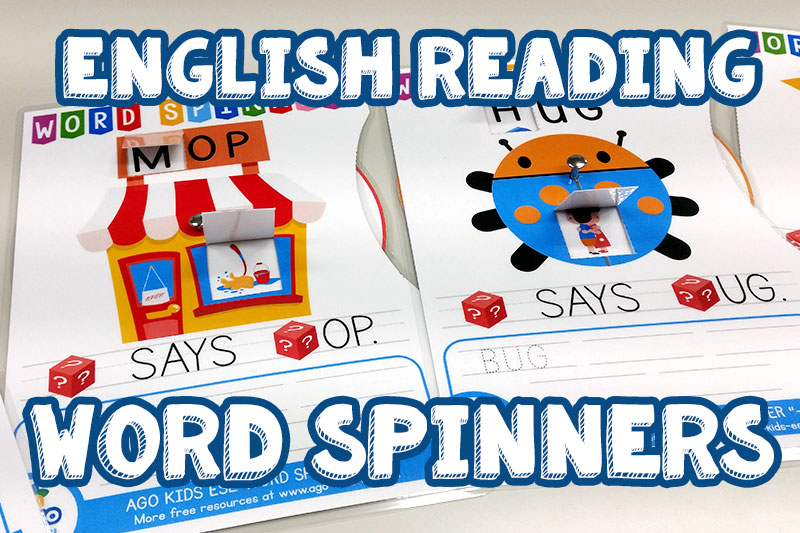
10-Minute ESL Crafts: English Reading Word Spinners for Phonics Practice
Forget Fidget Spinners! English Reading Word Spinners are the ...
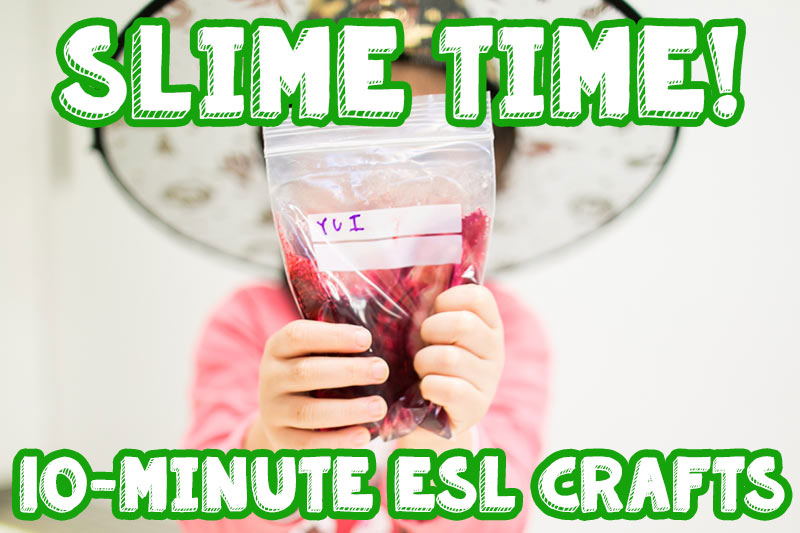
“Slime In A Bag” | Super Easy, No-Mess Instructions – 10 Minute ESL Crafts for English Class
Students will love making this super easy, no-mess "Slime ...
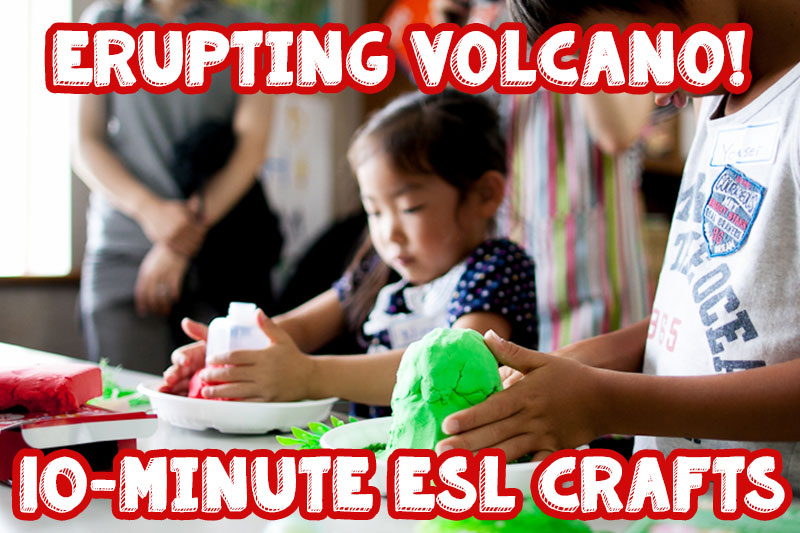
Erupting Volcano! – 10 Minute ESL Class Crafts
Make an erupting volcano in 10 minutes for your ...
Top 5 Awesome ESL Activities With Less Than 1 Minute Preparation
Learn Our Favorite Effective Classroom Activities Which Need No ...

ESL Cookie Recipe and Worksheet
Learn English While Making This One-Of-A-Kind ESL Cookie Recipe ...
DIY Craft Kalimba – Homemade Instruments for Kids
How to Make a Simple DIY Craft Kalimba for ...